The Algorithm
How it works
Every road segment in Australia gets a Road Quality Score from 0 to 10. The score combines six factors, weighted by what matters most for each vehicle type.
Road quality scores
What the scores mean
Two scores per road
Quality and risk. Both on the same map.
Every sealed road carries a Road Quality Score and a Geometry-Speed Risk score. They measure different things and work together.
Road quality score
Is this road worth driving?
Six factors weighted by your vehicle profile - curviness, surface, traffic, elevation, road class, and speed environment. High score means Contour will route you here.
Geometry-speed risk
Does it demand your attention?
How much more the road curves than its posted speed limit implies. A grey spot has never had a recorded crash - but the geometry is the kind that causes them. Independent of vehicle type.
The same 500m segment, two readings. RQS tells Contour whether to route you here. GSRS tells you whether to pay full attention when you arrive.
Scoring model
Scoring factors
The same factors are weighted differently per vehicle profile. Curviness is the primary factor for sports cars and motorbikes. Elevation is the primary factor for EVs.

Curviness
Primary - Sports Car, MotoCurve frequency, radius, and consistency. Roads with frequent, well-radiused turns score higher.

Surface quality
Sealed vs unsealed, surface condition data. Smooth bitumen scores highest for on-road profiles.

Speed environment
Posted speed limits and geometry-speed relationship. Roads where geometry matches speed score well.

Traffic density
Estimated traffic volume from road classification. Lower traffic means a better driving experience.
Elevation profile
Primary - EVGradient changes, sustained climbs, mountain passes. Elevation variety adds to the score.

Road class
Highway classification from OpenStreetMap. Secondary and tertiary roads generally score higher.
Route logic
How routes are built
Three steps from start point to Google Maps navigation.
Draw the corridor
Enter a start and end point. Contour draws a search corridor between the two locations. More flexibility = wider corridor = more roads considered.
Score every segment
Every road segment inside the corridor is scored for your vehicle profile. Nearby high-scoring segments are grouped so the route doesn't zigzag.
Hand off to Google Maps
The best waypoints are ordered geographically and passed to Google Maps as intermediate stops. One tap and you're navigating.
Two scoring systems
Sealed roads and tracks score differently.
Sealed roads use the Road Quality Score. Unsealed tracks use a separate system built around difficulty and consequence - not quality.
A score from 0 to 10. Sports car, motorcycle, EV, and caravan profiles each weight the six factors differently. The same road can score 9.1 for a sports car and 5.2 for a caravan.
Example: Reefton Spur, VIC
Two scores that measure difficulty and consequence - not enjoyment. Applies to all unsealed tracks available to 4WD and overland profiles.
Difficulty grade
1–5How hard is this track to drive? Surface condition, grades, creek crossings, and ruts.
Recovery Risk Index
0–10How far from help if something goes wrong. Distance from sealed road, mobile coverage, and track usage frequency.
High difficulty + high RRI = prepare for recovery. Carry a sat communicator. Don't travel alone.
Difficulty grades explained
Easy
Well-maintained gravel or dirt. Suitable for most AWD/SUVs in dry conditions.
Moderate
Rougher surface, some ruts. High clearance recommended. 4WD for wet conditions.
Difficult
Rocky or deeply rutted. 4WD required. Recommended to travel with another vehicle.
Challenging
Serious terrain - steep grades, creek crossings, or deep mud. Experienced drivers only.
Extreme
Recovery equipment required. Not passable without full 4WD preparation.
Segment classification
Road type labels
Each segment in your route gets a label based on curviness, surface, and terrain. Not what the map shows - what the road actually offers.
Tight Corners
Fast, tight corners on a main road. High corner count.
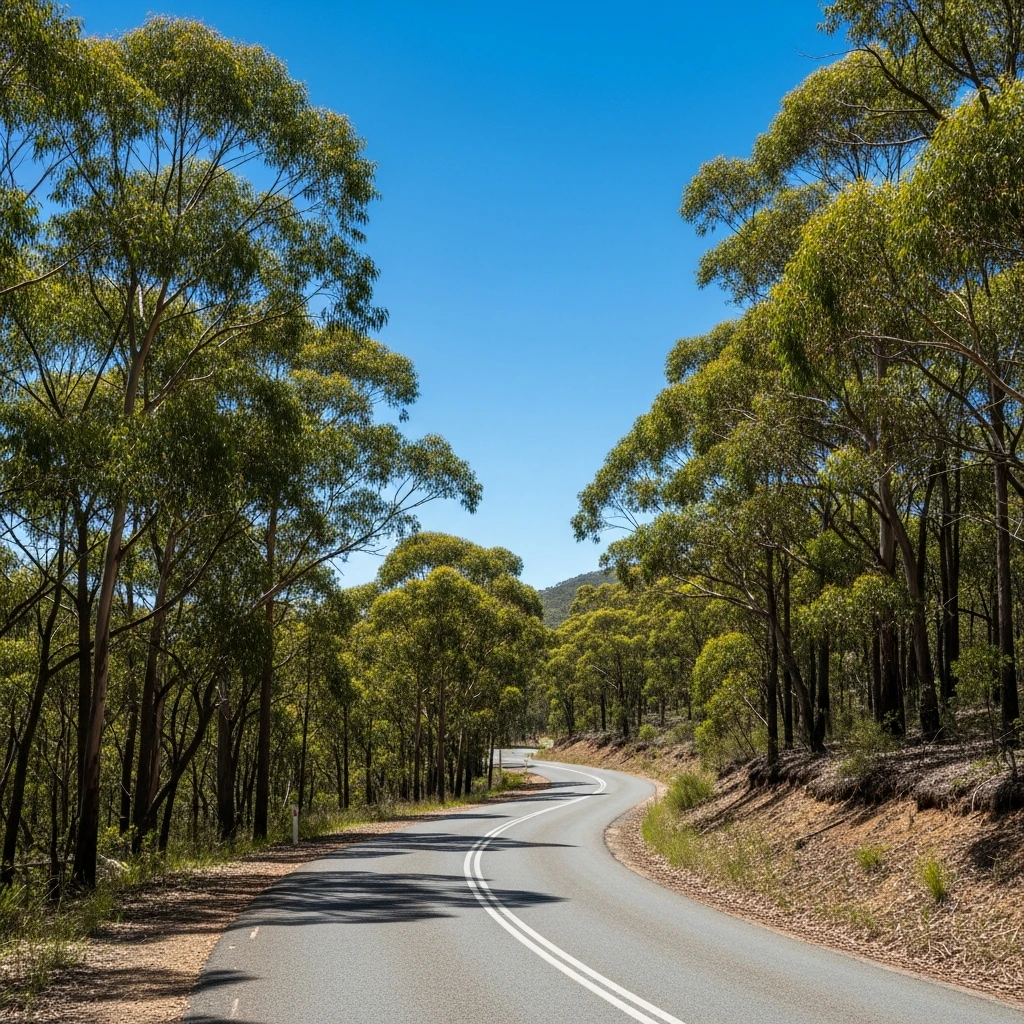
Winding Road
Winding road through countryside or ranges. Plenty of corners, lighter traffic.
Open Sweepers
Long, flowing bends on a well-maintained road.
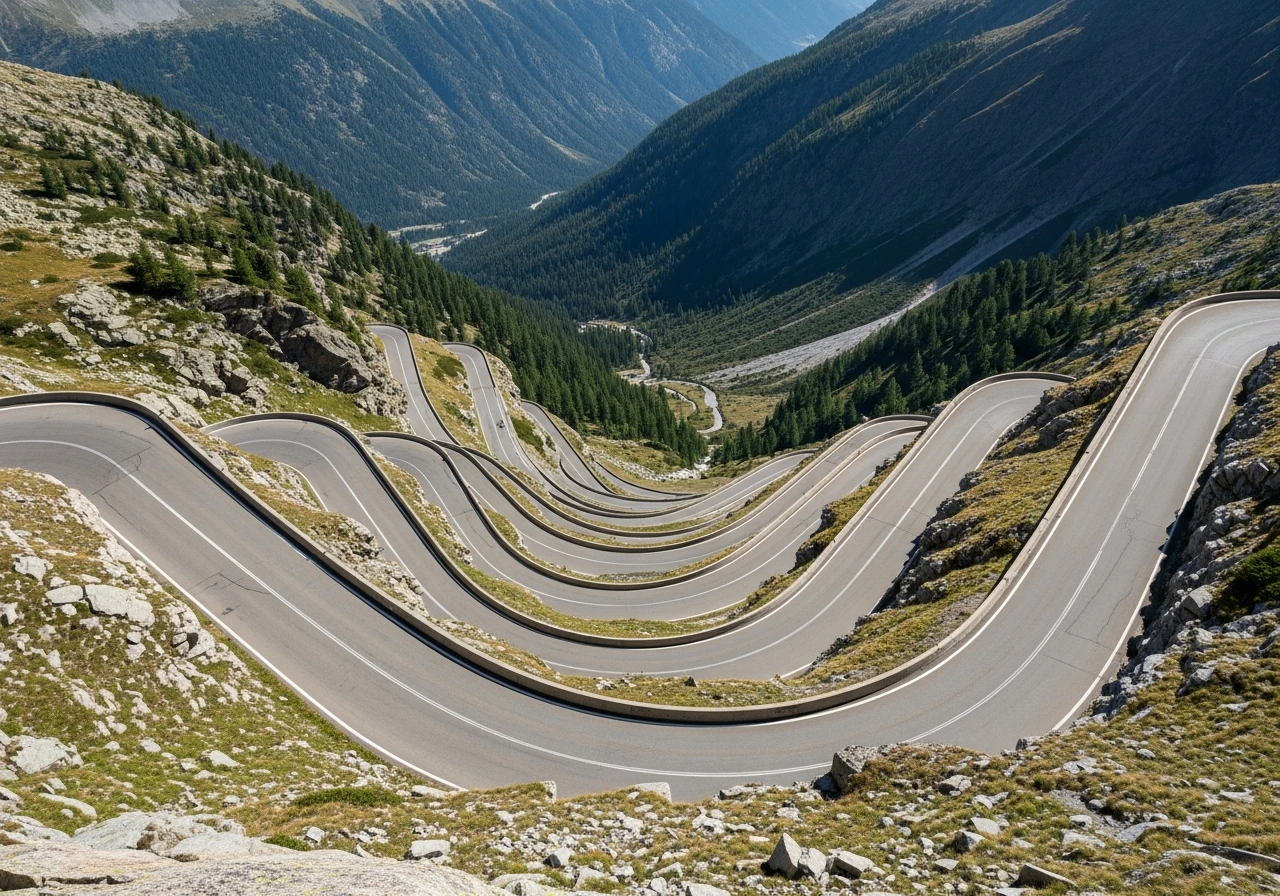
Alpine Pass
Sealed road climbing above the snowline. Hairpins, views, altitude. Seasonal access.
Ridge Line
Road along a ridge with open views to both sides.
Coastal Run
Sealed road along the coast. Sweeping corners, sea views, good tarmac.
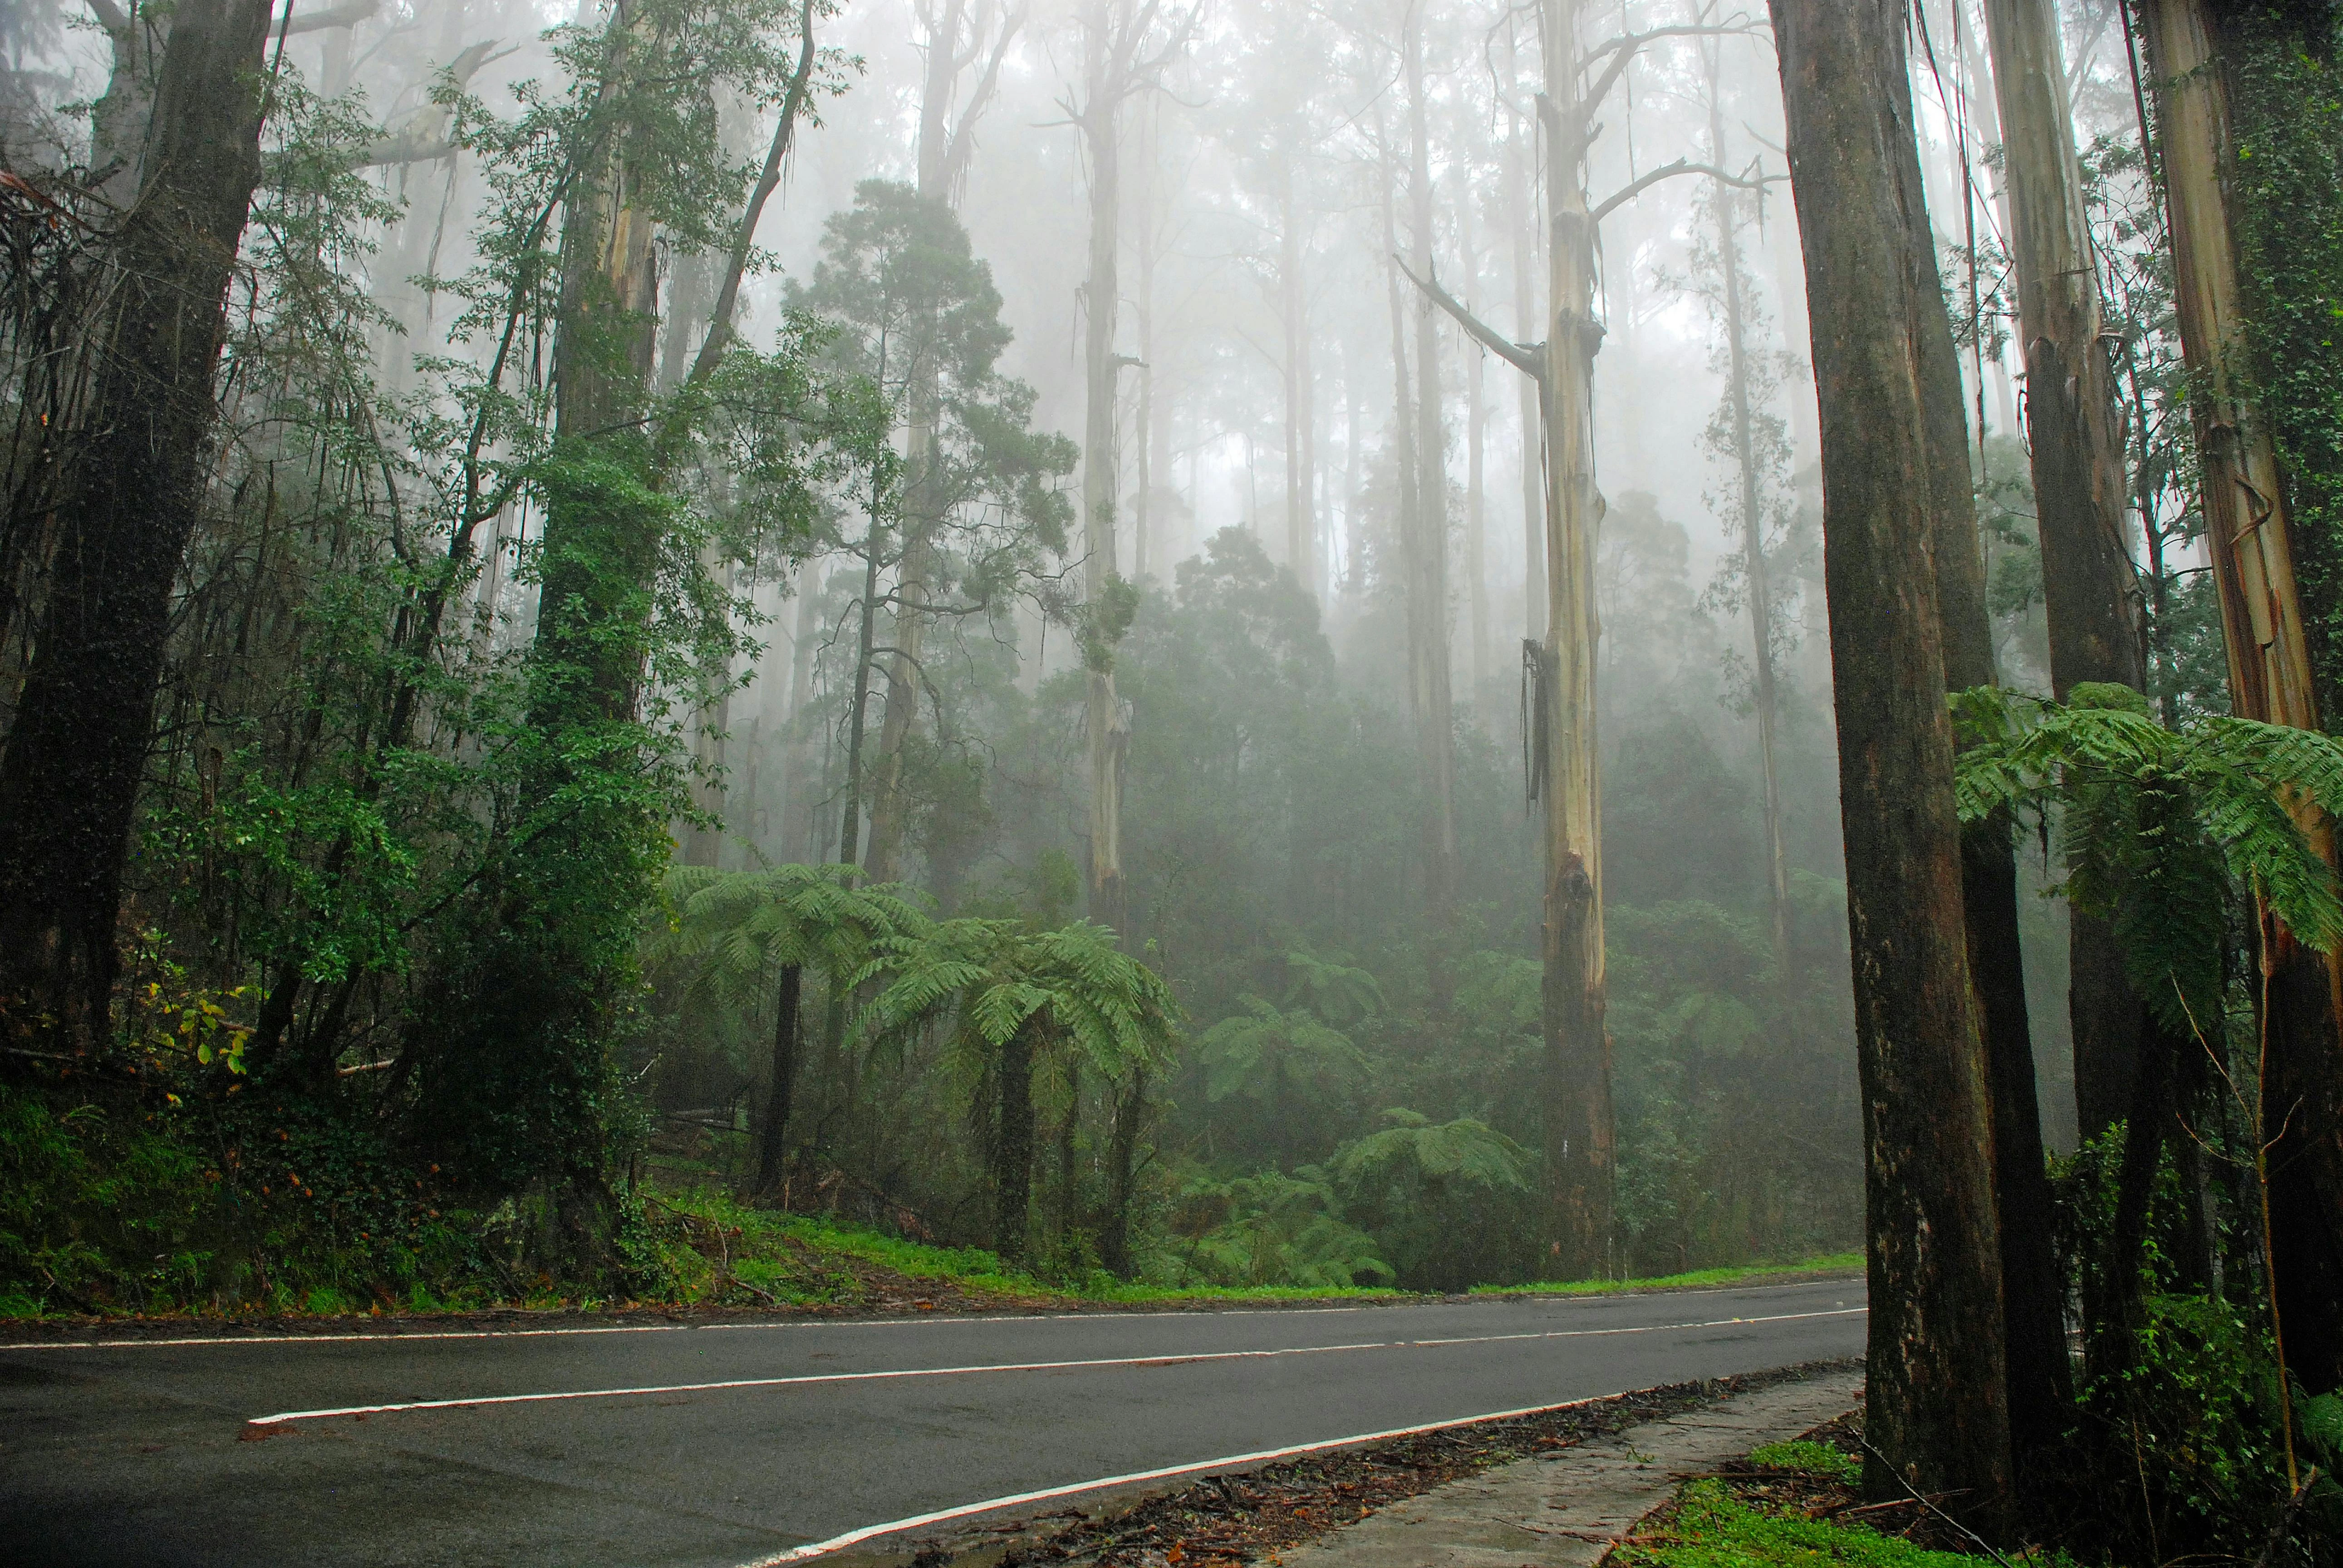
Forest Drive
Sealed road through dense bush or pine forest. Shaded, worth the detour.
Country Bitumen
Sealed back road through farmland or bush. Light traffic.
Gravel Sweep
Flowing bends on well-maintained gravel. Controlled slides welcome.
Gravel Corners
Tight corners on gravel or dirt. Know your clearance before you go.
Station Track
Country unsealed track through stations or farmland.
Mixed Surface
Starts sealed, ends on gravel. Check your tyre pressure.

Vehicle profiles
Same road. Different score.
Each profile adjusts the factor weights so the same road can score differently depending on your vehicle.
See all profilesProfiles
Vehicle profiles
The same intelligence, weighted differently for each vehicle type.

Sports Car
Prioritises smooth surfaces, flowing curves, and low traffic.
Motorcycle
Rewards tight curves and elevation changes. Penalises poor surfaces.

EV / Touring
Balanced scoring. Favours scenic variety and moderate curves.

4WD / Overland
Separate track scoring system. Rates difficulty 0-5 with Recovery Risk Index.
Tow / Caravan
Prioritises wide lanes, gentle grades, and sealed surfaces.
Collections
Challenges
Challenges are themed route collections that unlock as you drive their stages. Stages can be completed in any order over any timeframe.
Browse challenges →Data
Data sources
More than a dozen sources underpin the intelligence. Here are the primary ones.

OpenStreetMap - road geometry, classification, surface tags
Road geometry, surface type, speed limits, highway class. 1.41 million road segments scored across Australia. Updated regularly.
Satellite elevation data (30m resolution) for gradient calculations
30m resolution satellite elevation data. Used to compute grade and elevation change per kilometre for every segment.
State crash databases - historical incident data for safety overlays
Speed zone data from 7+ state and territory authorities. Government track datasets. State crash records used to validate scoring.
Mobile coverage data
Network coverage per segment. Advisory only. Used in the Recovery Risk Index for remote and unsealed tracks.
Community reports - surface condition and hazard reports from users
Surface condition and hazard reports from drivers. Condition data expires after 24-48 hours - you're never relying on stale information.
Regular updates
The scoring pipeline runs regularly. Calibration must pass all vehicle profile benchmark suites before scores update.
Quality gate
Calibration
After every pipeline run, the algorithm is validated against four benchmark suites - one per vehicle profile. Known great roads (Reefton Spur, Great Alpine Road) must score above threshold. Known boring roads (Tullamarine Freeway, suburban arterials) must score below. Calibration failure = no score update that week. No exceptions.
 Reefton Spur, Victoria
 Great Alpine Road, Victoria
See it in action.
Enter your start and end point. Contour finds the best roads between them.